I set myself the task of installing my own artificial grass, a proper DIY job. I spent many hours researching and reading many how to install artificial grass articles. The reason was I wanted a method that genuinely prevents weed growth. Many guides didn’t mention weeds and how successfully the method they were suggesting transpired over time.
I spoke to my local artificial grass fitter, and he said there are an easy way and the best way. If you are thinking of the best way of fitting artificial grass, it must be much more challenging or more expensive. You would be wrong just like I was; yes, there is an extra step in the process, and you will need to buy one more item. However, the little extra expense and the one extra step are so worth it if you want to install artificial grass and not have a weed problem.
Tools Required
- Turf Cutter
- Spade
- Power plate
- Wheelbarrow
- Boxcutter or Stanley knife
- Skip
Items to Complete Project
- Best artificial grass
- Artificial grass pegs
- Grano dust
- One bag of cement
- Weed Killer
- Weed Membrane
- Silica sand
Step 1 – Removing the grass.
The first step of the process is to remove the grass from your yard. If you have a turf cutter, this will get the job done much quicker. An added benefit with a turf cutter is it will take the turf off much cleaner than with a spade. You should be able to hire a turf cutter from your local hire merchants.
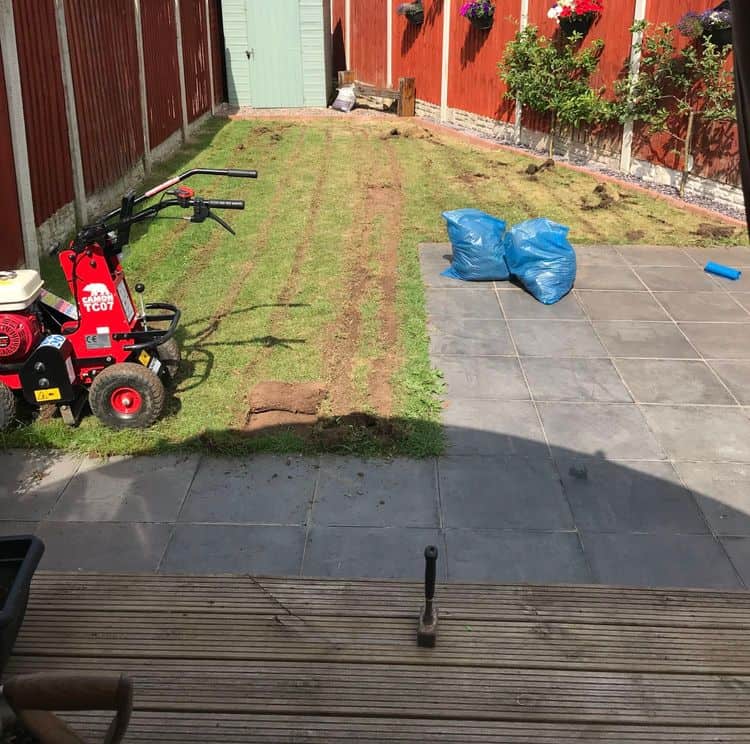
Once you have the turf off with the best garden shovel or the turf cutter, clean any grass off that is left around the edges. Removing the grass and dumping it into your skip is the biggest job of the whole process.
Step 2 – Slope the Edges
A step I have not seen anywhere, and this involves taking a chamfered edge from around the perimeter of the area; your artificial grass will be laid. There is no need to go too deep, just the width of your spade, and around 5 centimeters will be plenty. The soil you collect here again can be dump into the skip. We will come back to why we need this chamfered edge later. It’s the step that makes this method the best, so I wouldn’t miss it out.
Step 3 – Weed Prevention First Step
Make sure you have removed all visible signs of grass and weeds. Mix up a weed killer and apply it to the bare soil. Once dry, apply the weed membrane to the ground. Please don’t skip the weed killer in this step, but some skip the weed membrane for the price. I was happy to add it for extra weed prevention.
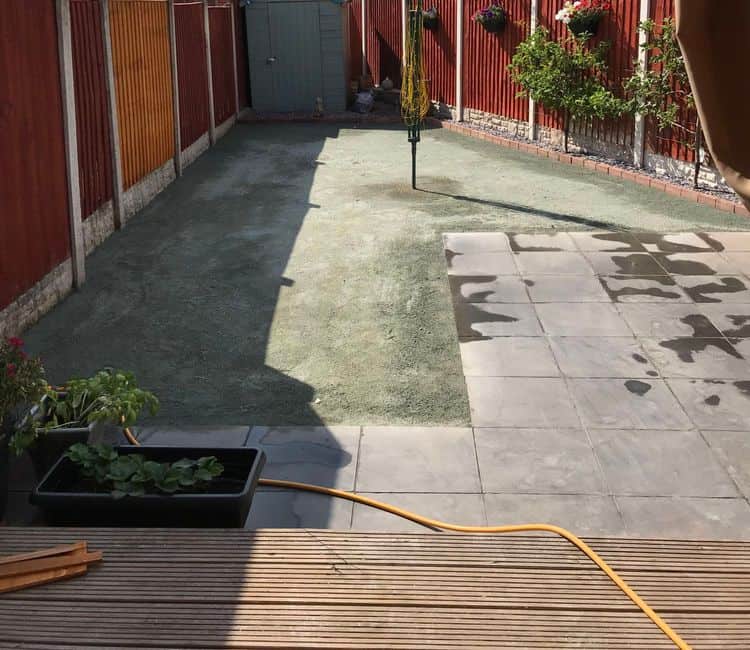
Step 4 – Apply the Grano Dust
Now, the second most important job of the process wheelbarrowing your grano dust into your backyard. If you are unsure what grano dust is, it’s a substrate that goes from 0 to 25mm. It compacts solid and gives little movement. It, in most cases, includes lime that helps with weed prevention.

So, apply the grano dust, trying to follow the contours of your yard. Make sure you don’t spread the grano into the chamfered edge; this comes next.
Step 5 – Weed Prevention Second Step
In a wheelbarrow, add half a wheelbarrow of grano dust and one bag of cement. Mix it all up nicely and lay this into the chamfered edge that you created earlier. A step I haven’t seen in any guides, and I can assure you it works.
I have had artificial grass for four years, and not one weed has appeared from the edges. Take my friend who had it installed by a “professional” fitter as a warning. Only four months after the install, he was plagued by weeds coming from the edges of his artificial grass. It’s a problem area for many, and as the “professional” was laying it, my advice fell on dead ears.
Step 6 – Power Plate It Flat
Complete the process of following the contours of your yard until you are happy.
Apply a mist of water to the grano dust and use the power plate to flatten it. Having some left of grano dust will be perfect here, as this is where you will see little dips. Fill any gaps that don’t follow the contours of your yard.
Step 7 – Weed Prevention Third Step
For some, this whole step can be missed; however, I was recommended to do it, so I completed it as it added very little time or money. Apply more weed killer now to your flattened grano dust surface. Then apply more weed membranes; this will give double protection. Some will say this is overkill, and you are right, but four years with no weed says it works.

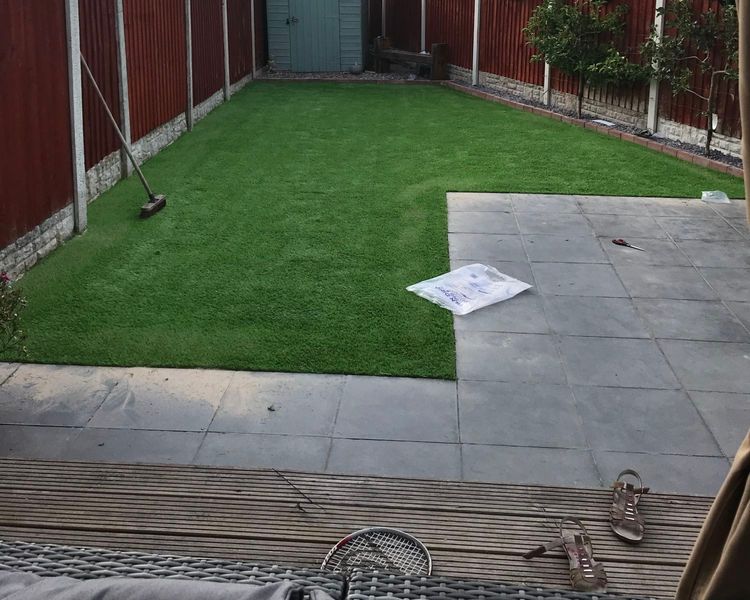
Step 8 – Fitting Your Artificial Grass
The next step is the most satisfying, and when all your work starts to come to a lovely looking end. Roll out the best artificial grass for dogs or whatever you have onto the prepared surface. Using a box cutter or Stanley knife, you will now trim around the edges to fit the artificial grass into your area.
Start at one edge and use artificial grass pegs to pin your grass down. Then move down the area placing pegs around one meter apart until you reach the end. You may find you need more or less than this; you will need to judge it, but you can’t have too many.
Step 9 – Sand the Final Leg
To keep the grass pinned to the floor and for the blades of grass to look much better, you will need to apply sand. Silica sand is the best to use and by using the best garden fork to punch a hole into the bag and spread it over the artificial grass. Using a stiff brush to brush it deep into the grass will make the grass stand proud.
I have seen people leave this step out as the sand can lead to weeds; however, I have not found this if you follow an artificial grass cleaning process.
There is only one step from here to follow in the process, and that is to enjoy your new maintenance-free artificial grass.